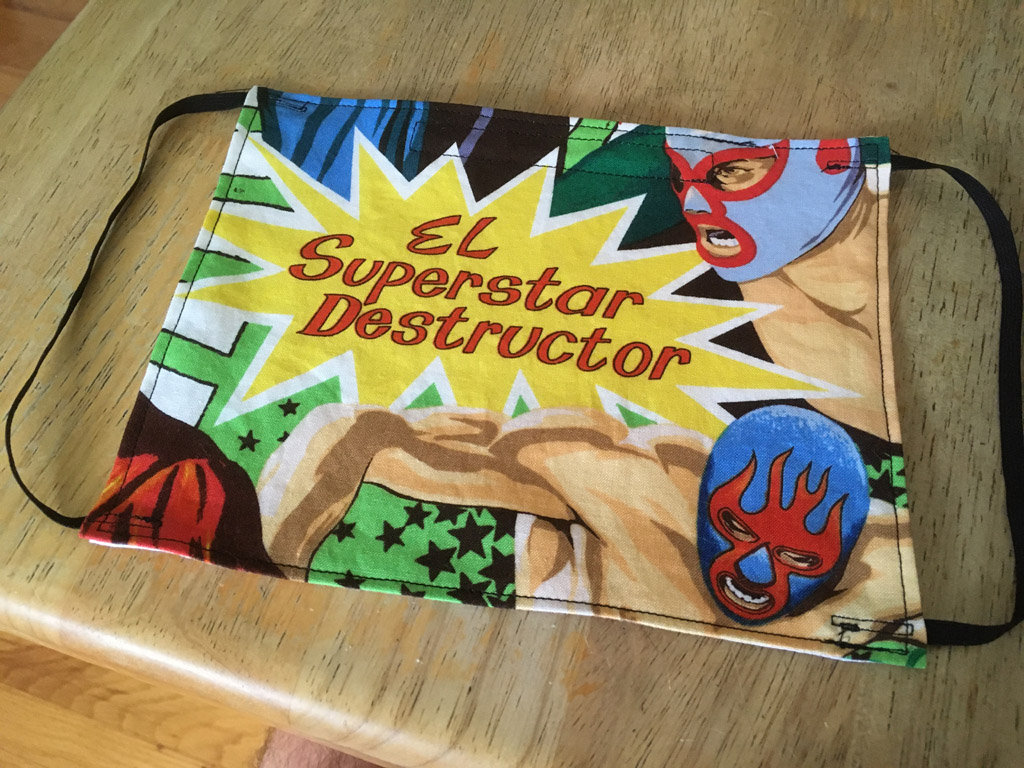
Mad Mask Making Mayhem!
2020-10-18
When the pandemic hit, it seemed like everyone but me started sewing masks, causing widespread shortages as cotton prints, elastic, interfacing, and thread were blasted from the shelves.
My shirts kept me busy until summer, when the shortages had mostly resolved and I had built an enormous box of scraps. I tried a few different mask styles, but ended up reverse engineering a nice pleated one for the pattern you have here. I've since made around forty or so and have been pleased with the results.
Materials and Sizing
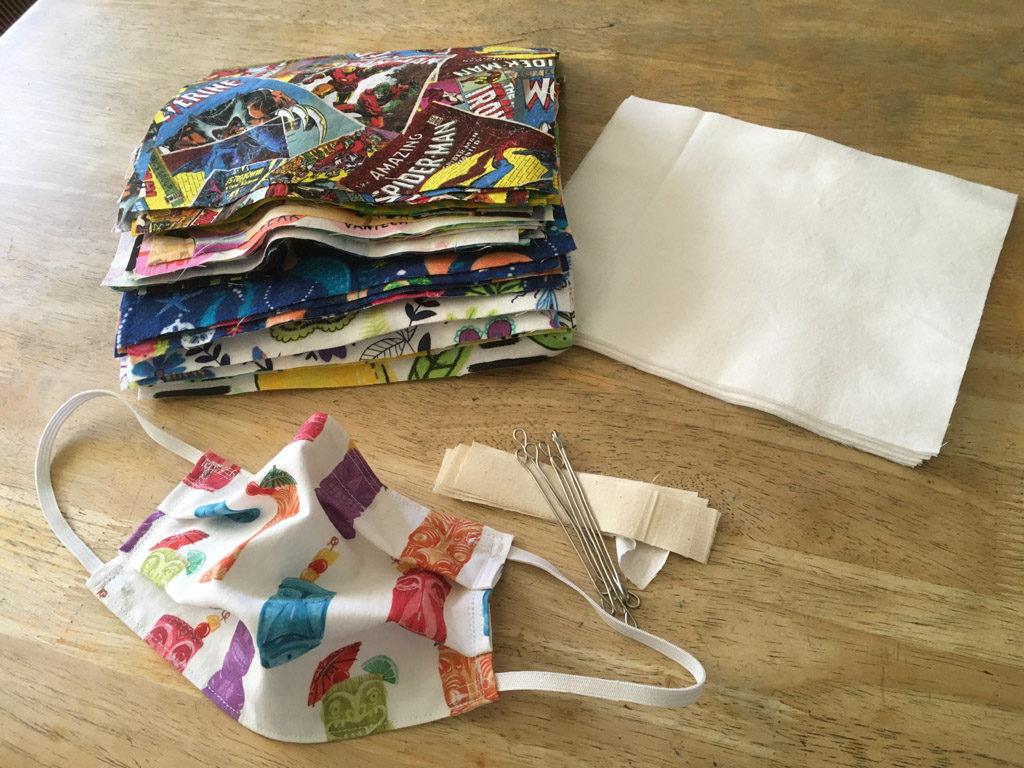
You will need the following. Click on the pattern below for a printable SVG file.
- two cotton rectangles, 8.5in x 7in.
- one cotton strip, 1in x 4.5in.
- one nose wire, 3.5in, around 18ga, with loops on both ends.
- two strips of quarter inch elastic, sized as below.

For the top, I use plain cotton or flannel scraps from my shirt sewing. For the liner and nose strip, I use white muslin. I just cut all of my scraps into a vast stack of mask squares now. Generally, I pre-wash all of the fabric.
Use whatever is convenient for the nose wire. I find that 18ga is stiff enough to keep the nose snug (plus I have a fifty pound spool left from a previous project!) Bend a loop into each side with some needlenose pliers so that it won't poke through the mask.
Size is controlled mostly by elastic length. The following three variations seem to fit most people. Tweak as needed. Elastic shorter than 7.75in gets difficult to work with, so we trim the fabric for the smallest size. At the time of this writing, Joanns has 1/4in elastic in white — ask at the fabric counter, while fabric.com has a rainbow of colors.
- Large: 9in elastic.
- Medium: 7.75in, possibly 8in elastic.
- Small: 7.75in elastic, trim an inch from the fabric, so that it is 7.5in x 7in.
It takes me around a half-hour to make one mask, or a bit less when doing many in a batch.
Attach Nose Wire
Fold the top square and cotton strip in half along their long axis to find their center points.
Place the top fabric face down. Position the strip in the center along the top, about a quarter inch from the edge.
Sew along three edges, then with the needle buried in the material, lift the foot. Stick the nose wire in the little pocket you just made, then sew the fourth side.
Attach Elastic

Fold the side edges of the mask under, about a quarter inch. This will eventually provide the finished edge.
Position the end of an elastic strip with about 0.75in overlap, about a quarter inch in from the edge.
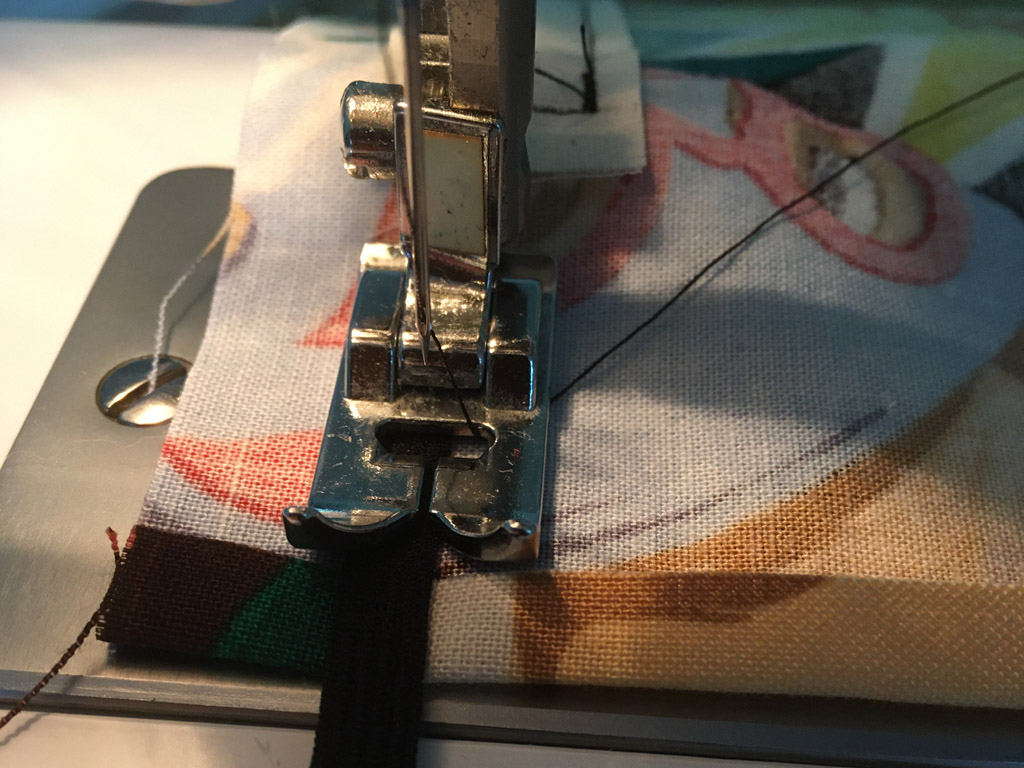
Start sewing at the end of the elastic, offset from the centerline of the elastic.

Sew towards the edge of the mask. Bury the needle, lift the foot, and turn 90 deg. Sew one or two stiches. Turn 90 deg and continue, eventually making a box.
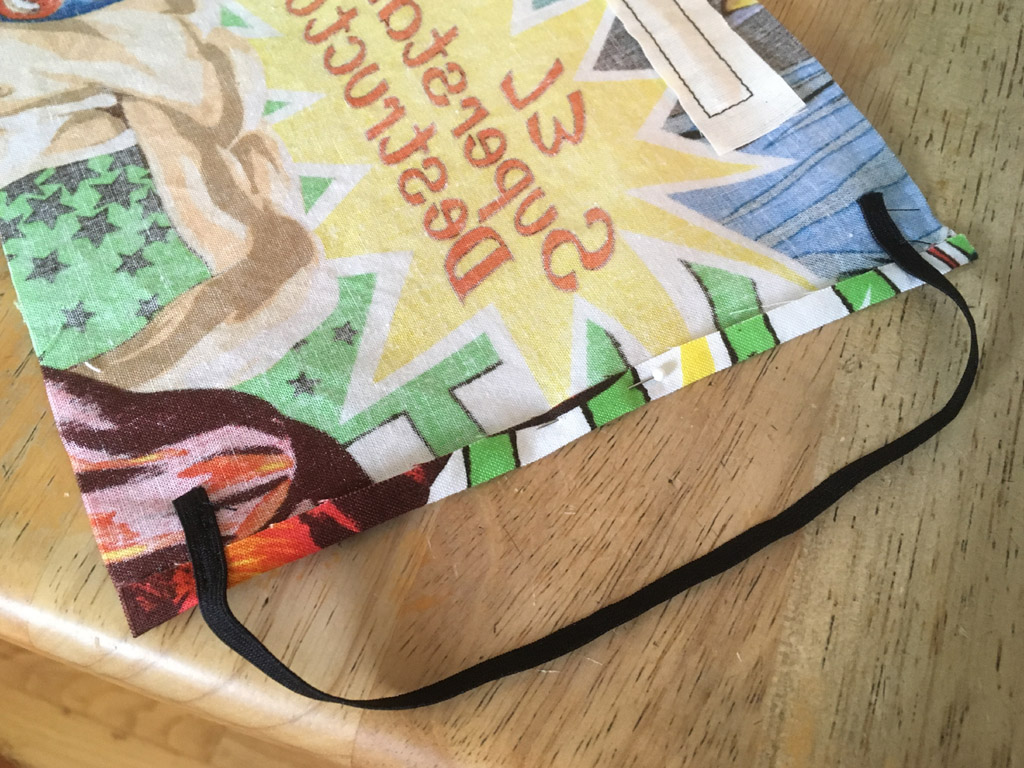
Repeat for both ends of both elastic straps.
Attach Liner
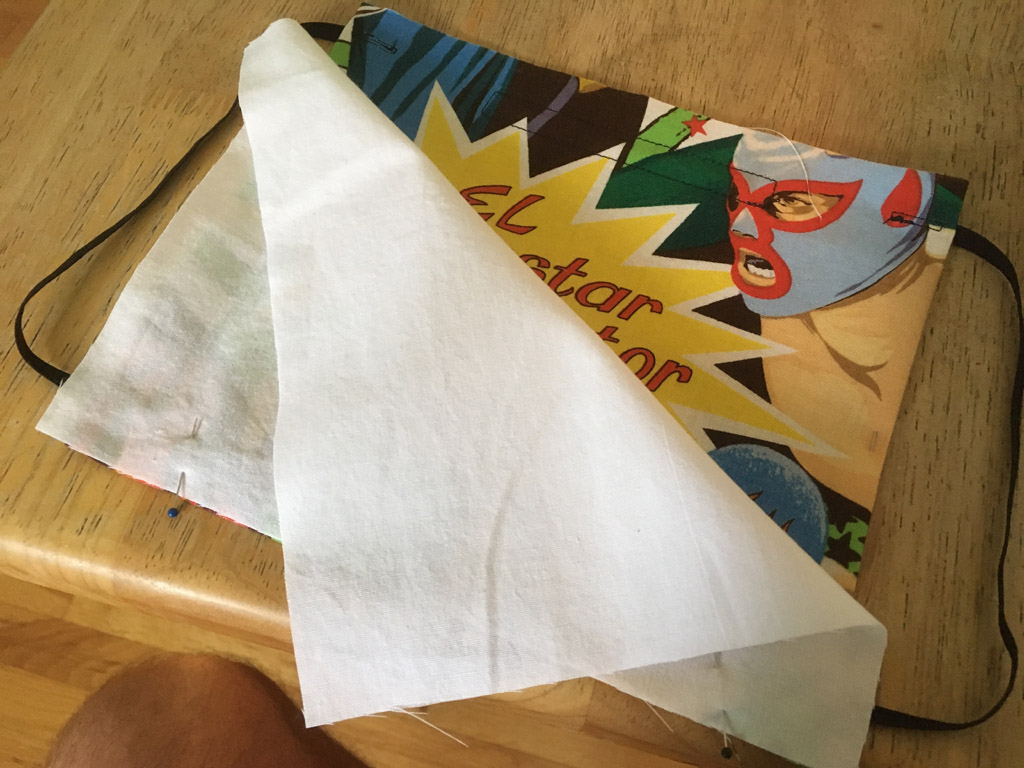
Flip the fabric right side up, then place the liner on top of it, right sides together (if the liner has a right side)
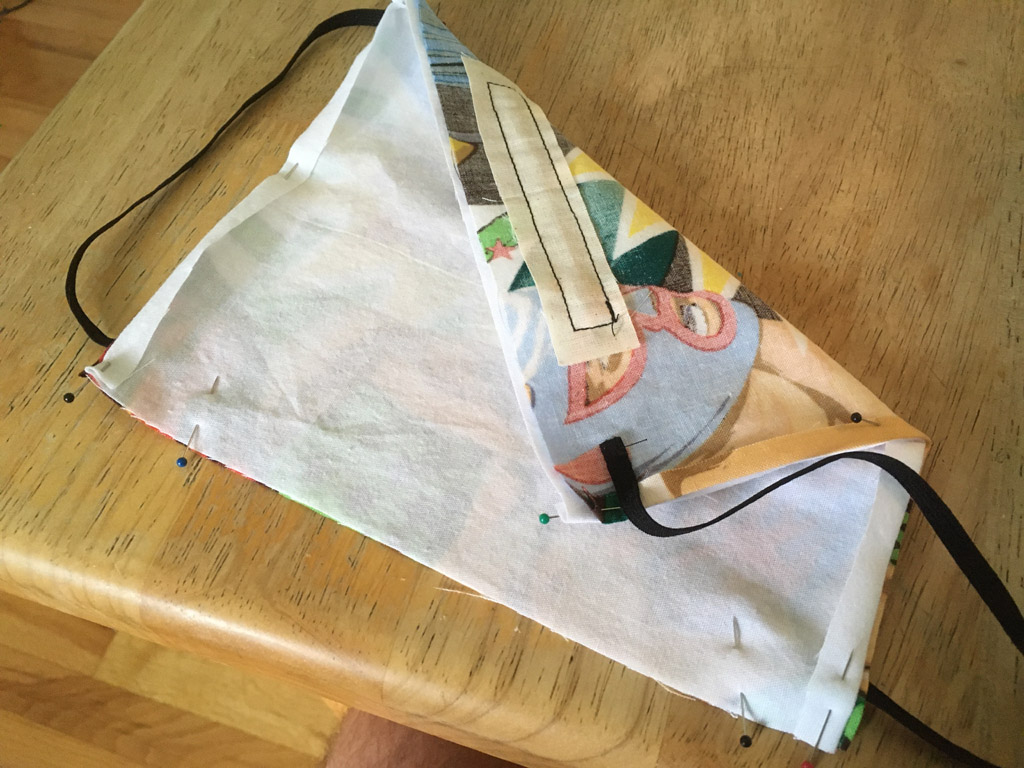
Center the liner vertically and horizontally. Pin along the top and bottom edges. Fold the side edges under by a quarter inch, opposite the top layer.

Sew along the top and bottom edges.
Edge Stitch
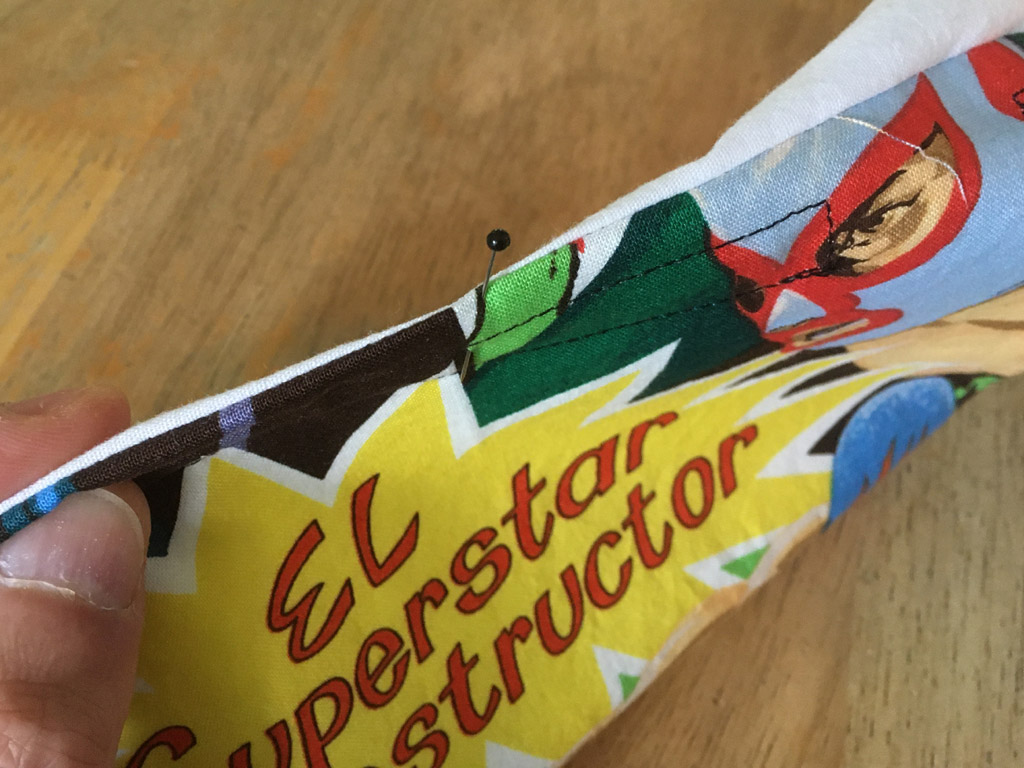
Pull one side through the tube you just made to turn the mask right side out. Straighten out all of the seams and pin them.

Pin around all four sides, being careful to keep the edges folded under on the open sides.
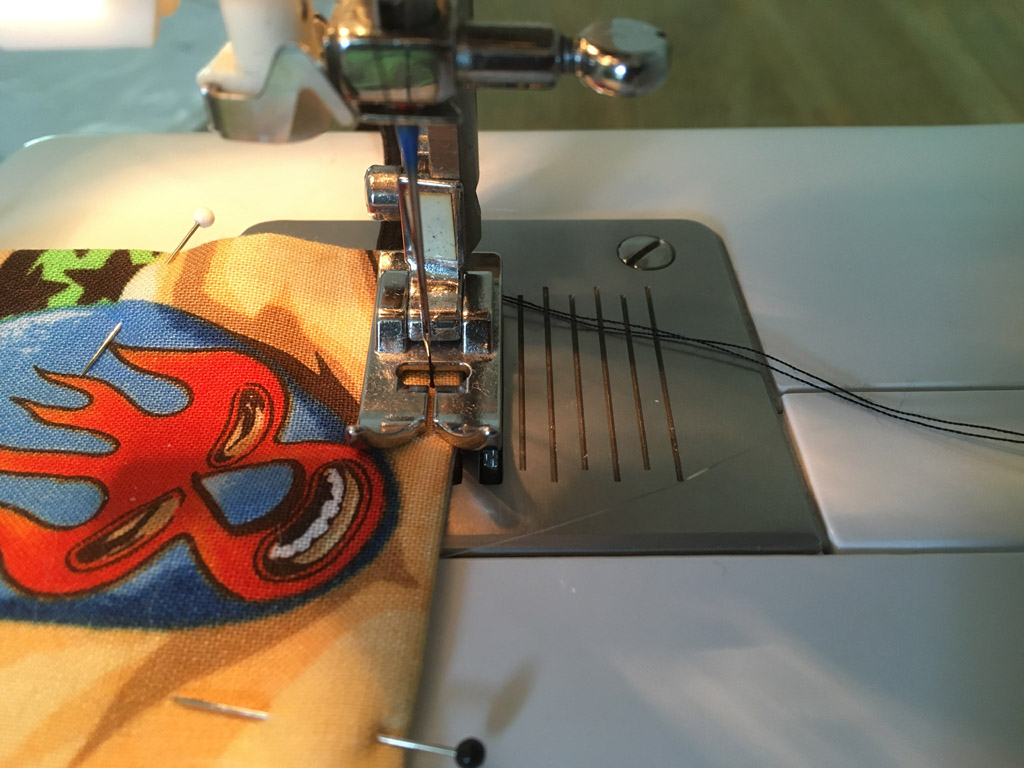
Start in one corner, very close to the edge. Use the gaps in the footplate as a guide to maintain a consistent spacing.
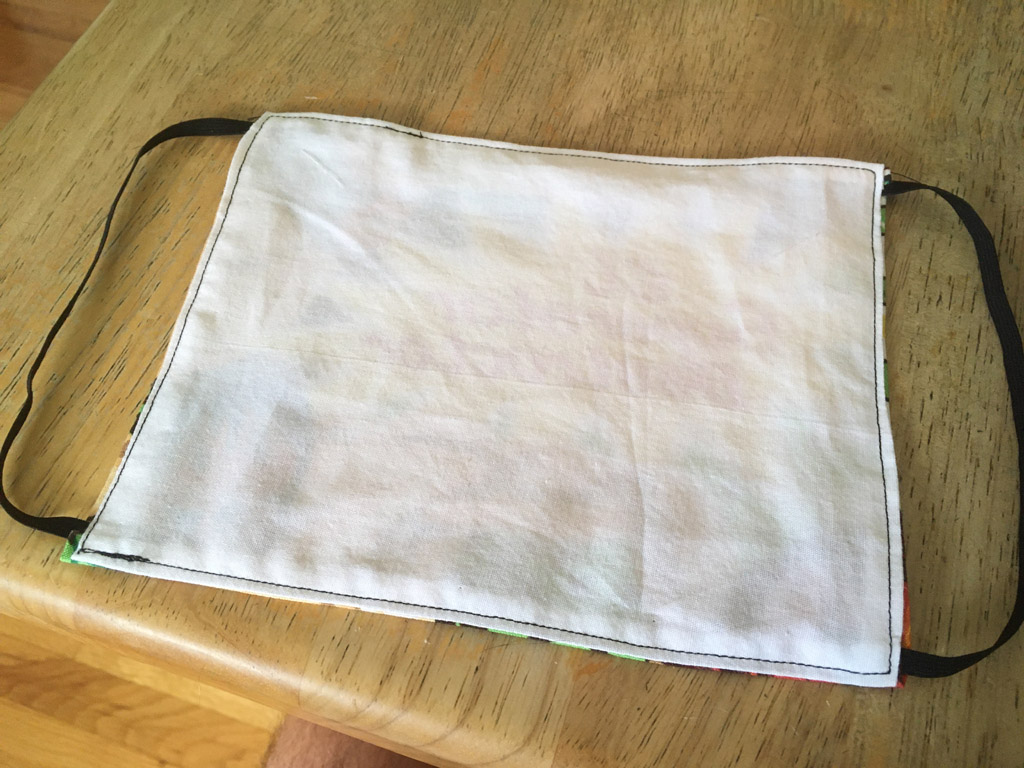
Sew all the way around. Bury the needle at each corner, lift the foot, and then rotate the fabric 90deg, drop the foot and continue sewing, like you did with the elastic.
Fold and Pleat
We will fold in two pleats, then sew back and forth near each side to lock in the pleats.
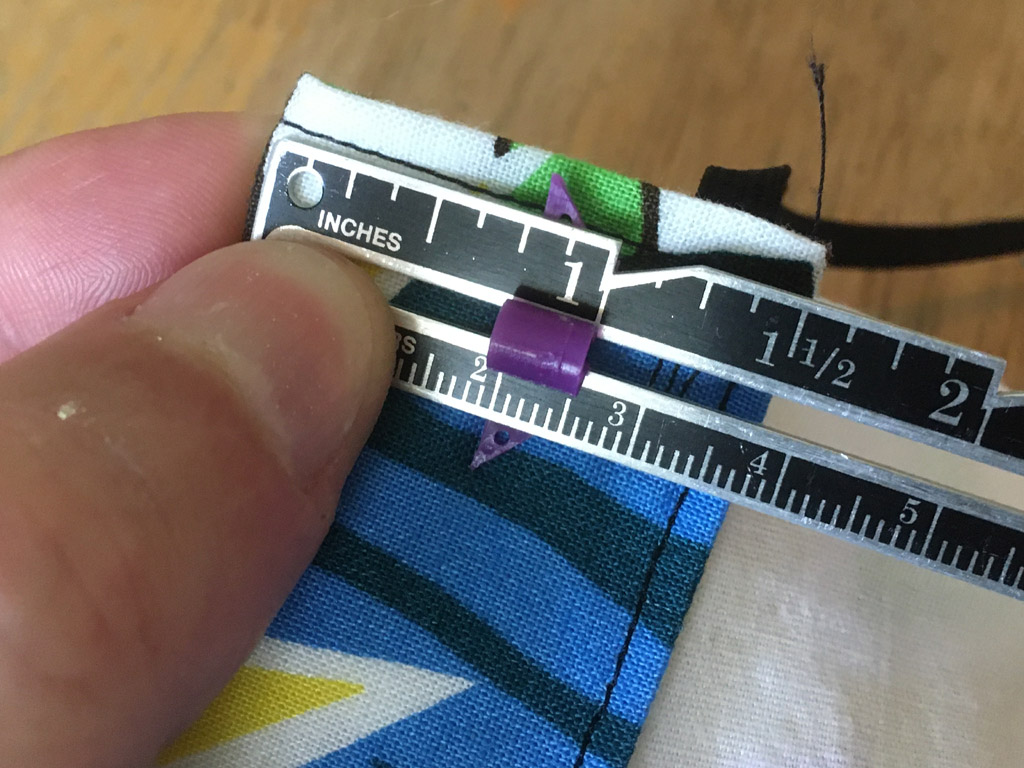
From the top, fold under at 1.5in. A hem guide is really handy for this, because our pleats are 0.75in wide and you can set the marker to that length.
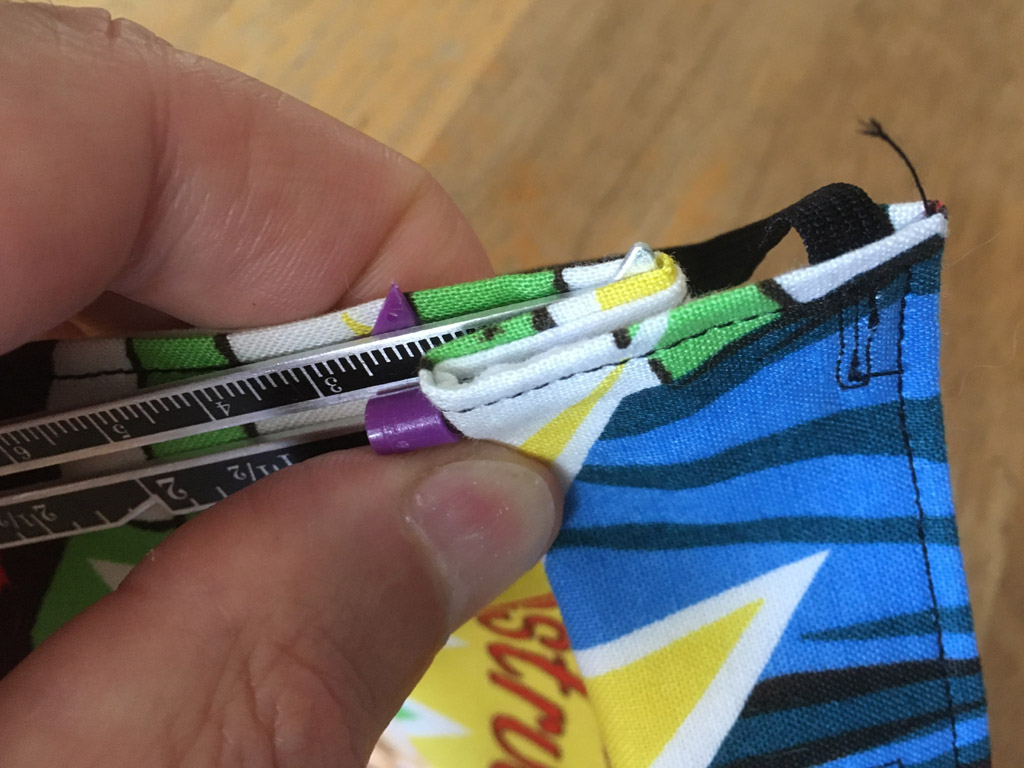
Fold the fabric back 0.75in from the top fold, making a "Z" shape. Stick a pin through the pleat to hold it in place. Do both sides of the top pleat before moving to the bottom pleat.
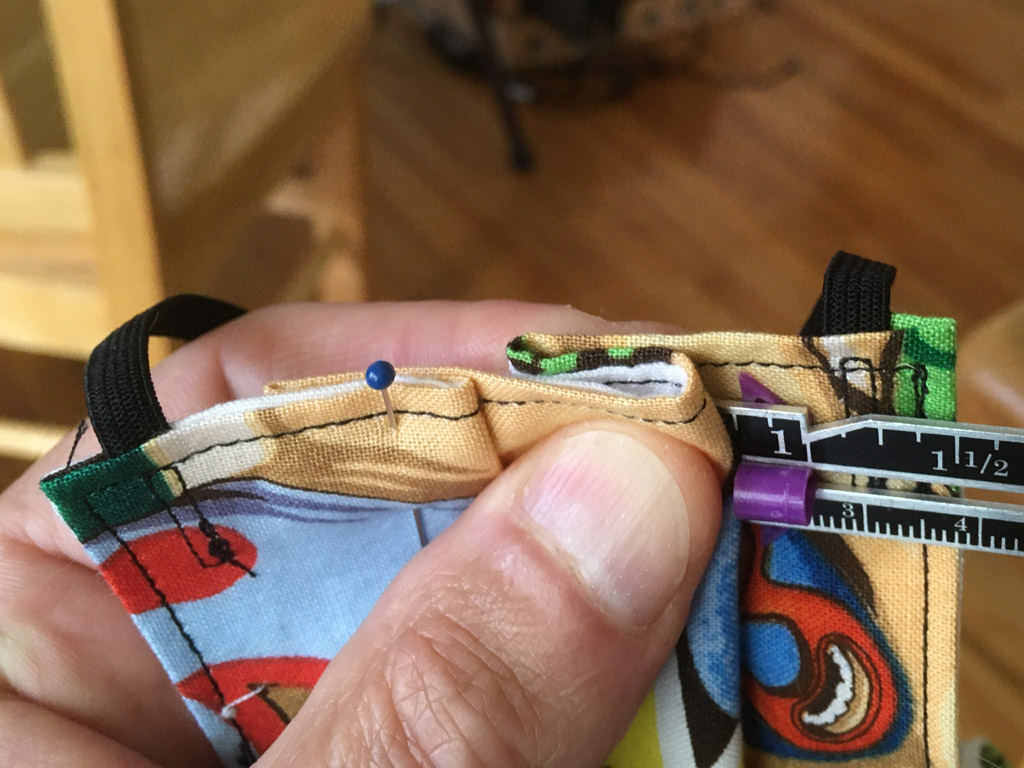
From the bottom, fold up at 1.5in, then back 0.75in from that. Depending on your sewing, you might need to shift it by an eighth inch or so to make sure that the two pleats do not overlap. My bottom pleat is often at 1.375in.
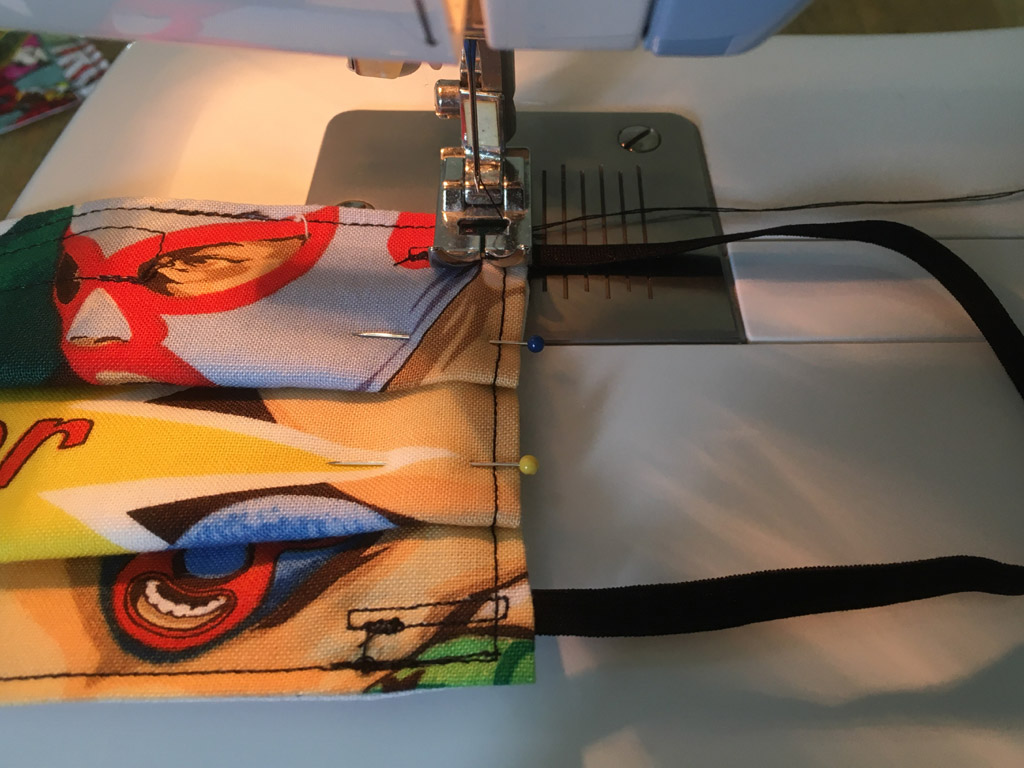
Starting about a quarter inch from the edge, sew back and forth about three times to lock the pleats in place. With fabric this thick, you should just sew forwards. At the end of a pass, bury the needle, lift the foot, and rotate the fabric 180deg. Sew to the other side and repeat to come back. I generally just make three passes.
Enjoy your new mask!